 |
|
|
Silk Embroidery
I'm working on learning to embroider with my silk. I'm using a single strand made from 4 of my reel strands, so it's about 150 cocoon filaments thick.
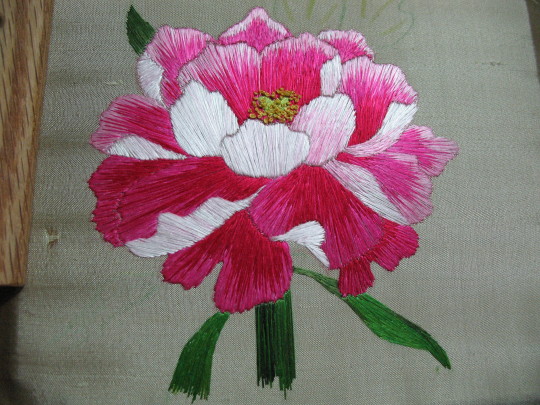
This is still in progress; I'm mostly done with the flower, but I still have several green parts to stitch.

Here, you can see some of the stitches from before when I started taking lessons; there are a lot of gaps where the foundation fabric shows through, and my edges are fairly rough.
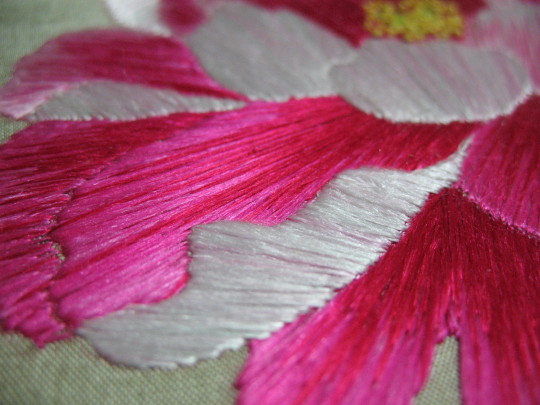
After a couple of lessons, I'm getting cleaner edges and better surface coverage.
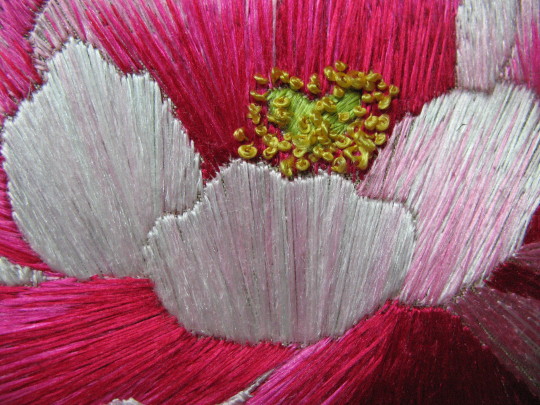
A shot showing the center of the flower
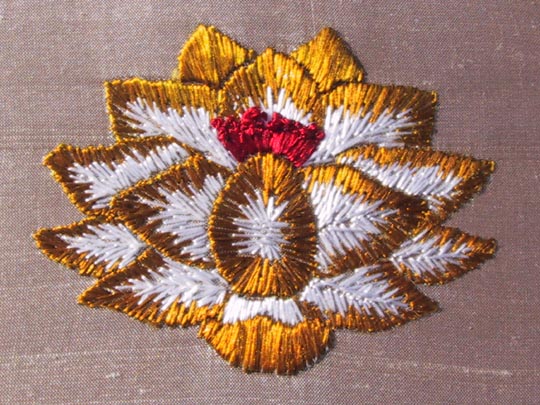
This is a piece that I did a couple of years ago. The lotus is stitched with silk twice as thick as the silk I used for the peony, and it shows in the rougher surface.

For scale, the lotus is just over 2 1/8" top to bottom, 2 3/4" side
to side. It's all stitched with flat silk which I reeled,
threw, degummed, and dyed. The petals are satin
and long and short stitches, the red center also has seed stitches. For seeds,
natch! Or, actually, probably anthers, if we're being picky. I stitched this
from a very stylized logo; one lesson that I learned from this project, is that
it's easier to either (a) stitch from natural images, adapting them to embroidery,
or (b) stitch from stitchery designs. There were a couple of things that are
great for logo design, but make the stitching part tricky. The ground fabric
is champagne-colored smooth doupionni silk.

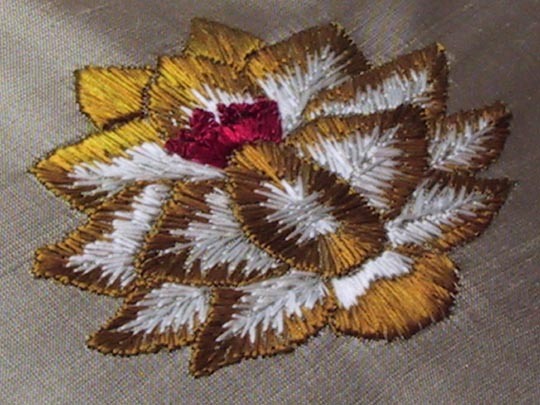
A moderate closeup. I'm following a technique out of Young Yang Chung's "Painting
With a Needle" - the outline is laid in first, and the satin stitching
is laid over it. I used split stitch for the outline. The petals are stitched
from the edge to the center, and from the back layers to the front, so that
the natural overlap of the stitches enhances the dimensional effect.
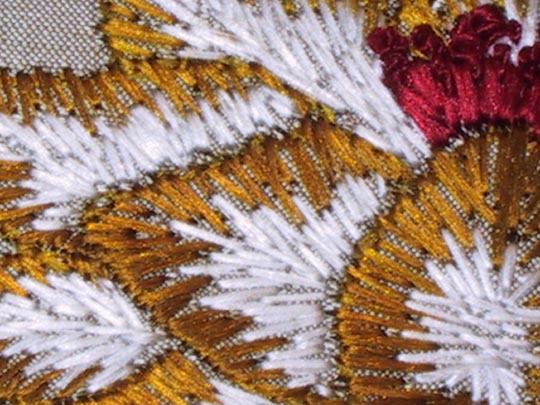
In a mega-closeup, you can see that there's still quite a bit of ground showing.
But, the brightness of the silk is such that you don't really see it. In future,
I will try working the satin stitches more closely (and possibly using a magnifier,
so that I can see when this happens) but for this one, it works fine.

One of my very favorite things about silk, is that it catches light along its
length. So the shine on the lotus is determined by the angle of the stitches
which are catching the light. It makes it look almost metallic. This is difficult
to catch with still photography.
However, once you see it at a couple of different angles, you can definitely
start to see what's happening. Tipping the embroidery back and forth causes
light to play across its surface. There is not a shadow on this anywhere; that's
just the difference between the part that is catching the light, and the part
that is going a different direction.
What a difference a day makes! This was shot in direct sunlight, the others in inside lighting. I like the color better in sunlight, although it's more difficult to capture the effects of angling the embroidery with the sunlight.
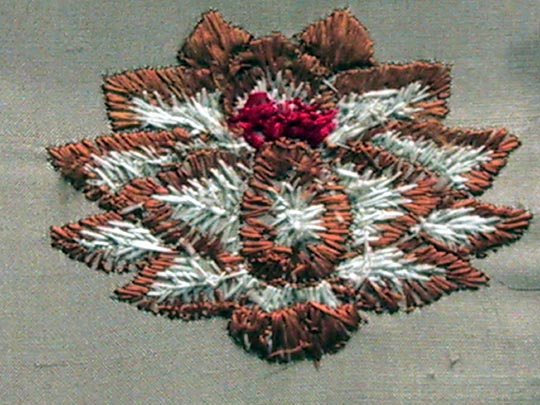
And here, because a friend of mine asked - the back. It's not entirely beautiful,
but I think it's pretty decent. I think that getting better coverage on the
front will improve the back too - the areas that look the most sketchy, are
ones that are sparsely covered on the front. The densely-packed areas look pretty
good on both sides.