
|
|
Silk Reeling - Improved
It's been over a year since I posted the original set of reeling pictures, and I've learned a lot. This is how I reel silk these days. It's based on information I've gotten from a variety of sources, mostly old books. There is virtually no good modern literature explaining how to process silk by hand - a condition I'm trying to remedy.
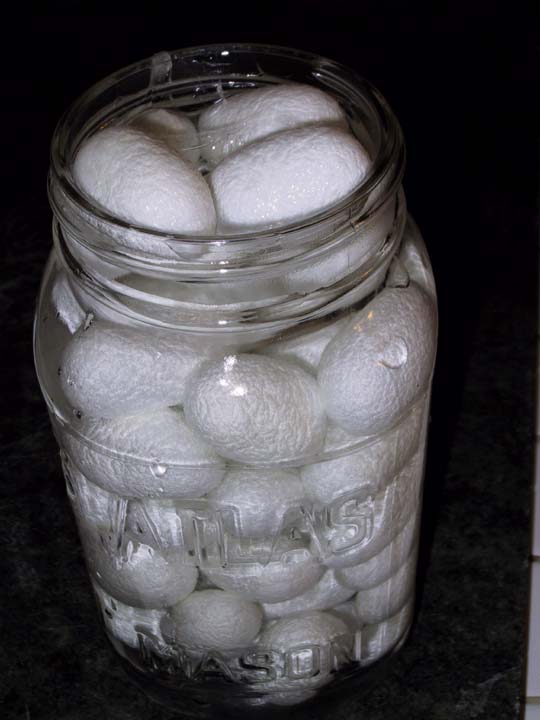
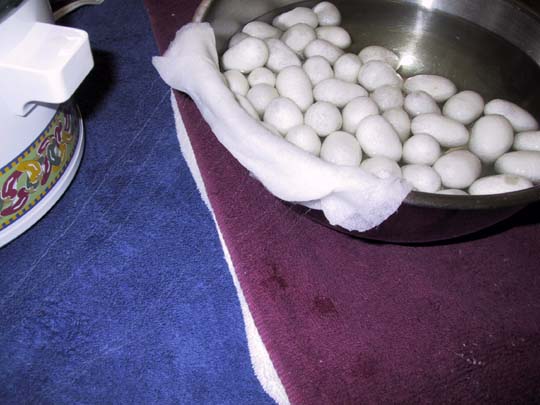
I start out by soaking the cocoons for a few minutes. This helps make it easier to grope the ends, by slightly softening the gum on the cocoons. I start by filling the jar with the cocoons, then with very hot tap water. After five or so minutes, I pour out the water and replace it with very cold tap water. If you try this at home, make very sure to use a tempered Mason jar; thinner jars can't handle the temperature shock. I use a narrow-mouth jar because it helps keep the cocoons down.

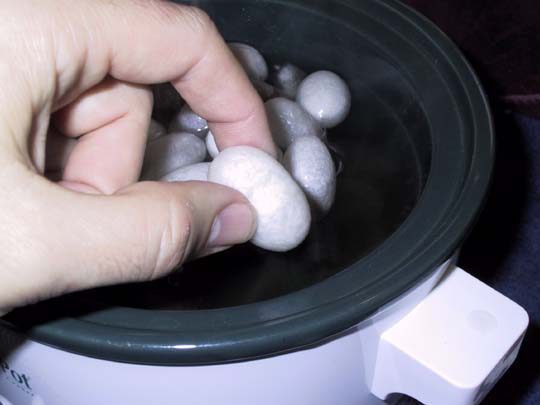
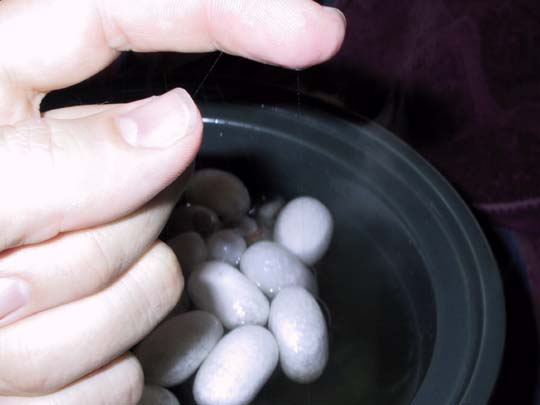
After the cocoons are soaked, I pour them into a kettle of water just removed from the boil. You can't see it in the pictures, but there's a little single burner under the kettle. I have put a sieve on top of the cocoons to keep them under the hot water; it's helpful but not necessary. The cocoons will fizz and sizzle vigorously; the air inside is being expelled as they heat up, and the gum is softening.
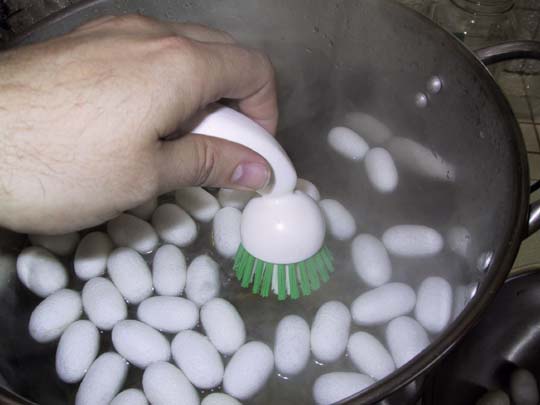
After the cocoons have stopped sizzling, it's time to start groping them for ends. I do this with a dish brush. The traditional version looks like a tiny whisk broom, or a wok broom; they are usually made of rice stems or twigs. You can see that the cocoons are floating low in the water now - they've drawn in some water, so that they're about a third full. It makes them much easier to reel. I poke at the cocoons with the end of the brush, and also make a stirring motion around the surface of the water with it, which picks up the filaments from the cocoons.
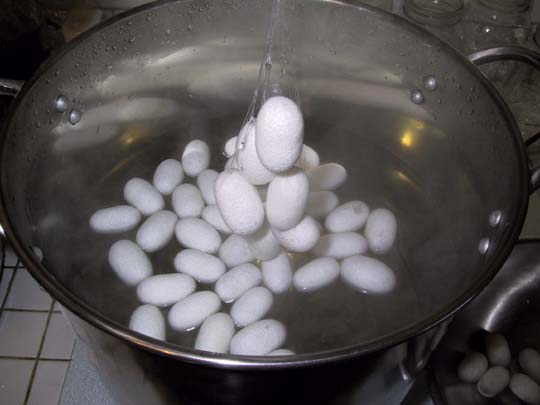
This is what you catch with the brush. You get several cocoons with each swipe, and start pulling the ends from them. As you pull off all the ends together, you will find that they start separating out - some cocoons will drop off, others are clearly connected to the strands in your hand. The strands pulled off during the process will wrap around your hands, cling to your clothes, and get on your nerves. Snap the bundle of strands often, and wipe it off your hands and brush. The silk waste produced by this process is called "knupps", and is used for making silk to spin.
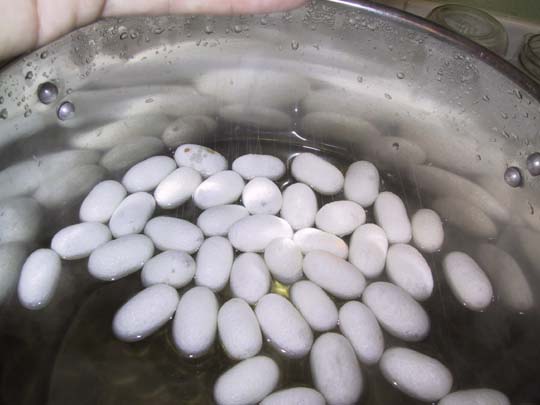
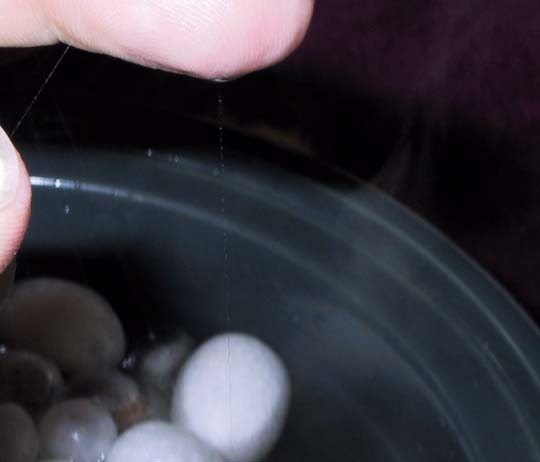
Here, you can see the threads attached to the cocoons. You can find which ones are attached, by dragging them from one side of the kettle to the other, and by watching to see which ones bob around. If you want to see the threads, look in the dark areas right above the bunch of cocoons, against the side of the kettle. Each cocoon's filament is about 2 to 3 denier; a denier is one gram per nine kilometers, or about four and a half million yards per pound. Needless to say, they're very thin.
I use a slotted spoon to raise the connected cocoons and transfer them to another bowl, with the ends draped over one side so you can find them. Repeat this step until all the cocoons are in the second bowl. I drape a piece of damp paper towel over the side of the bowl, so that I can stick the filaments to it. They're very fine, and easy to lose track of. Fill the bowl from the front to the back, so that when you pick up a cocoon from the back, its filament won't be under the ones in front of it.
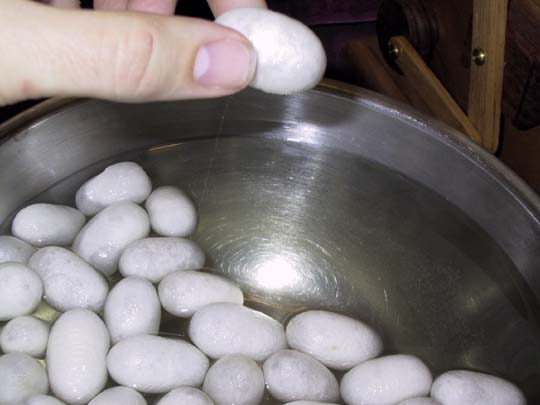
Now, it's time to set up for the reeling. I arrange about fifteen cocoons together to make the reeling strand. Here, I'm showing the method for picking up the cocoons. This assumes that you're winding the reel right-handed; if you're using the opposite side, then reverse these. Traditional Japanese reels use the left hand to crank the reel and the right hand to feed the cocoons; I like to crank with my right hand because that arm gets fatigued less easily. There's a certain amount of "Emperor's New Clothes" involved in this - you honestly can't see the filament a lot of the time. I'll hold up my hands like I've got thread in them, and you pretend you can see it, OK? A lot of this process is done by feel. Seriously, though, you can barely see the filament coming off the cocoon; it goes diagonally down and to the left from the middle of my thumbnail.
The following few pictures will show how to drop the cocoon while holding on to the thread. It's something I've worked out based on text and illustrations in a couple of old books; use whatever works for you.
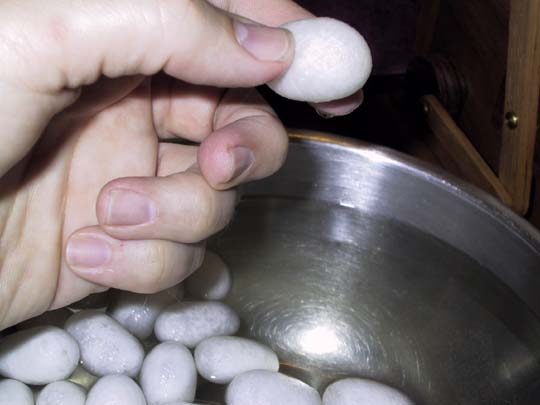
Here, I've wrapped my fingers around the thread. Yes, I know it's invisible. Trust me, it's there. You can see just a little bit, below the pinky finger. The best way I can explain, is that you just make the motion, knowing where the thread goes - you'll realize when you drop it, if you've got one that doesn't have the end attached. You can go through the motion with a spool of thread, if it helps you visualize it.
With the cocoon thread captured safely in my last three fingers, and the cocoon held loosely with forefinger and thumb, I flip the hand over, and drop the cocoon into the reeling water. When I turn the thumb side upward, the filament is on the tip of my index finger.
This is what it looks like when I've dropped the cocoon, and I have the filament on my finger. Emperor's Clothes, hey?
This is a close-up of the same view. Notice where you can see the filament crossing in front of the cocoon at the center bottom, and if your monitor resolution is good you can see the filament between my fingertip and thumb.
Here, I've got the filament on my finger, and I'm going to attach it to the reeling thread. I push the back of my fingertip against the reeling filament, and it just grabs the thread and joins it on. Don't let go with the thumb and other fingers; this will snap off the end neatly, leaving no visible mark where the thread is cast on. Once you get used to it, and if you have a good reel, you can cast on cocoons without ever slowing the reel.
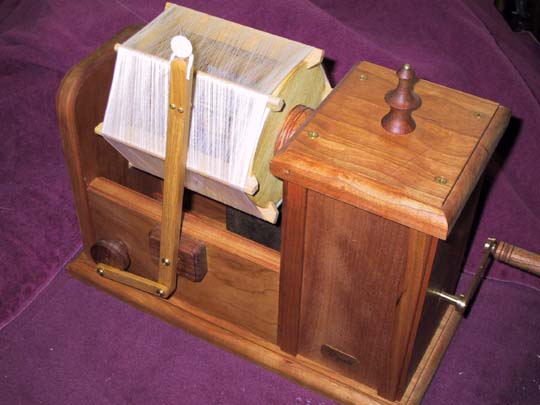
This is what I'm reeling with these days. It's a custom design by Bill Wyatt, based on an antique Japanese silk reel called a Zakuri. The bobbin is accelerated by a series of pulleys and belts, and the arm in front rocks back and forth, so that the wet silk is not piled on top of more wet silk. It makes a HUGE improvement in the process over reeling onto the clock reel, because the rocker arm takes the place of my left hand, so I don't have to stop reeling to feed cocoons.
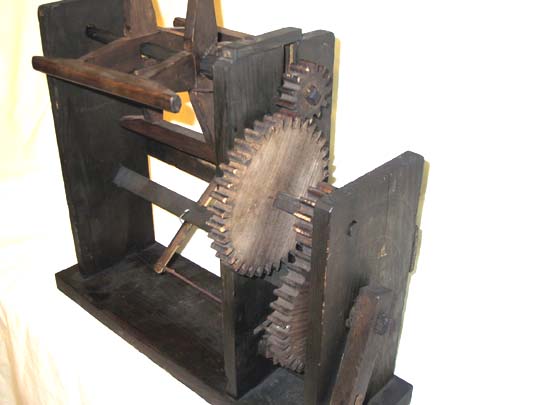
This is the antique Japanese version. The uprights are made of a soft wood, similar to pine, and the gears are carved from a hard wood called Zelkova. The bobbin is called an itomaki, and fits on a removable spindle so that it can be exchanged for a fresh one. Click here for a page on the Zakuri, including specific and careful measurements.
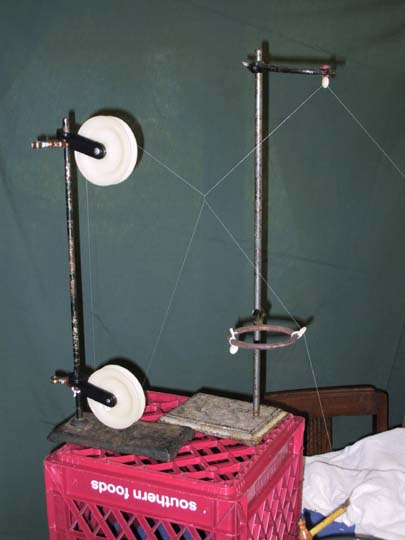
This is a major innovation in my silk reeling process, almost as significant as the improved reel. This is called a Tavalette, or Italian, croissure. Croissure means "crossing" in French - the filament is passed through a series of guides and pulleys such that it twists together with itself, thus squeezing out much of the water and agglutinating (gluing together) the filaments with sericin. The reeling pot is just out of the frame at the bottom right. The filament goes up, through a guide, over the top pulley, around the bottom pulley, through the croissure, and then through the upper guide eye to the reel. Croissure makes a much better quality of silk, because it is less likely to abrade or shred during processing. There is another type of croissure called Chambon, or French; it requires a double reel and double cocoon setup, and one thread from each side is taken into the twist and then they separate to wind on to the reels. Note: the pulleys are laundry-line pulleys, they were around $3.50 each at the hardware store. They are mounted on my ever-present chemistry ring stands, but a dowel inserted into a wood block would work just fine.
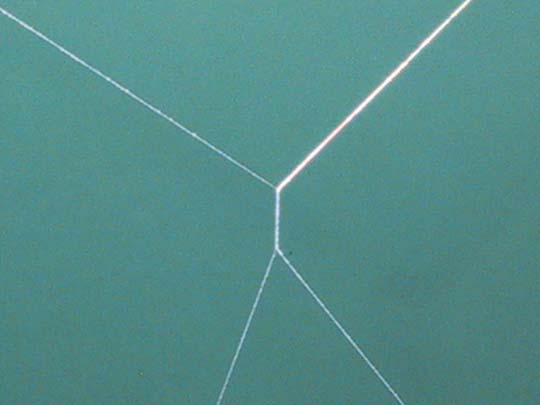
This shows the actual croissure. The filament at the top right is not any thicker than the others, the flash is just catching it. I use about thirty twists; I find that if I use too many more than that, it snaps the filament too easily. Croissure drags on the silk slightly, so if there is a slub or weak spot, it will break the filament. If the filament breaks, you have to piece up.

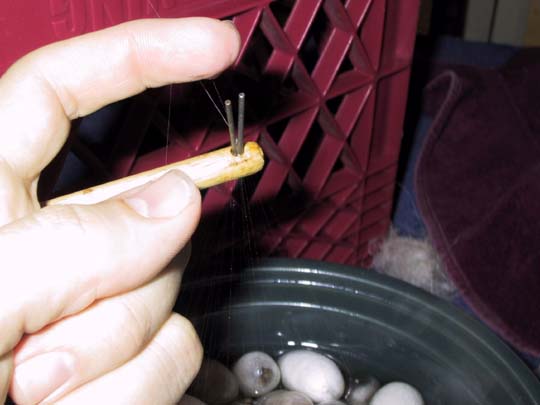
This is how you piece up the raw silk filament. It's in the center there - it's an overhand knot with both strands, trimmed close. The ends need to be just a few millimeters long, or they'll snag later on. In the grading of raw silk, knots over 3mm are considered a minor flaw; over 7mm they are considered a major flaw. With the ends trimmed to 2mm, they are not considered a flaw unless there are excessive numbers of knots.
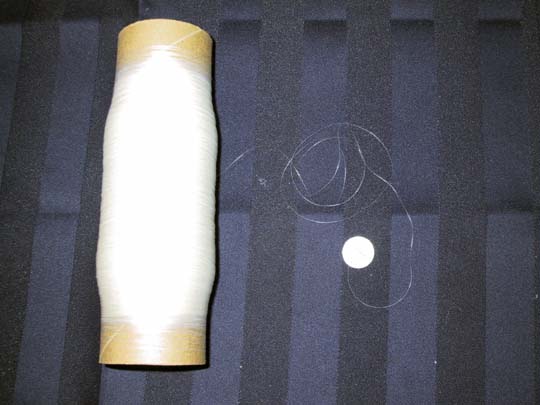
This is a spool of raw silk. With the improved setup, I can make an ounce of raw silk (about 250 cocoons) in an evening's reeling. The bright spot is a dime for scale - the flash caught it.