 |
|
|
Stitch Markers
I saw somebody knitting along with really beautiful stitch markers, and decided I had to have some. I looked around, found a few vendors who carry different varieties, and decided, "I can do these." So, here we have a basic primer in how I did them.
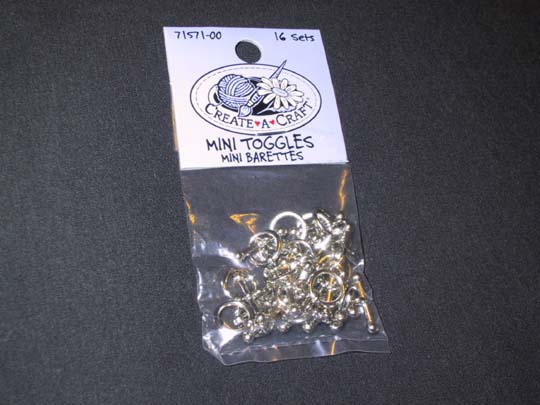
I thought about starting with spring rings or jump rings to go on the needles. But, when I was shopping for the supplies, I found these very cool little "toggle clasp" closures; they're designed for necklaces and bracelets. Because they're solid rings, they won't catch on anything, won't come apart, and won't end up with yarn inside them. And, they've got convenient little attachments already on them to attach the beads to. The toggle rings that I used will fit up to a size 10US; there are bigger ones available, but these looked best for what I want. And they were cheap.
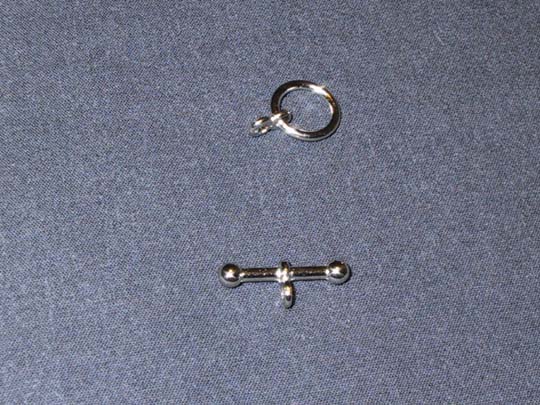
This is one set. The little package had 16 pairs, for $1.88.
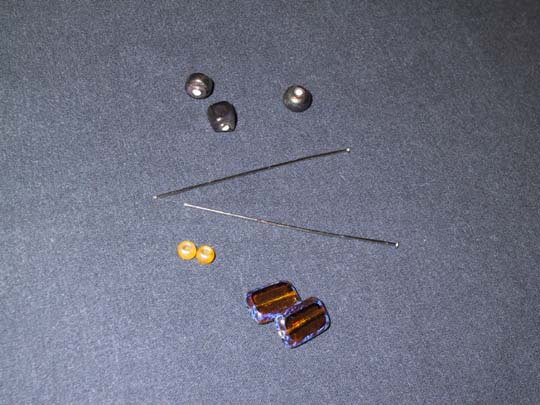
These are the other supplies. The top and bottom are beads; you can use whatever kinds you like, or use charms, etc. Keep in mind, that if you put a lot of large beads, your markers will be heavy, and if you use pointy charms or beads, they may catch on your work. The long pointy things in the middle are "head pins" - they are like brass straight pins with no points. They are used to mount the beads to the ring.
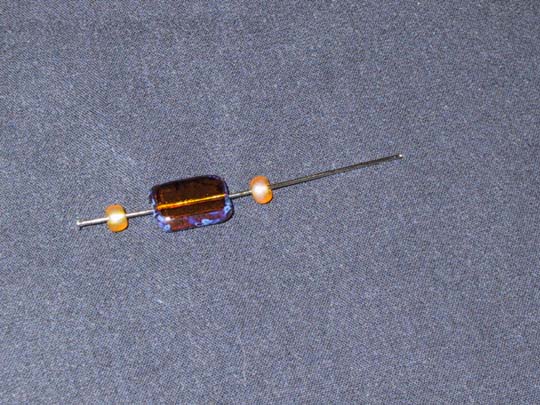
Take a single head pin, and thread it through the beads you want. Make sure that if you have beads with large holes, you use a smaller bead as a stopper on the end.

Here, you can see the way it's going to look. You can try out a lot of arrangements before you fix them in place.
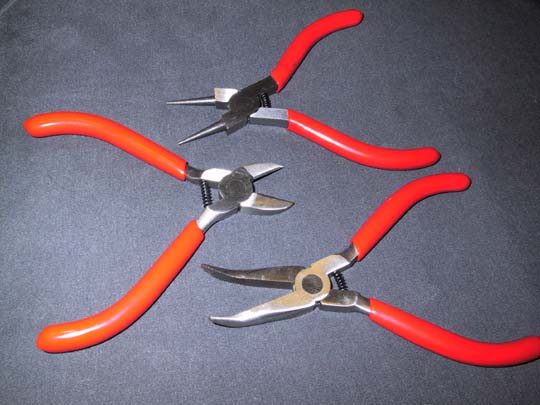
These are the tools I used to make these. Top to bottom: round nose pliers, side cutters, bent needle nose pliers. Any needle nose pliers will work, although the round nose really do help with getting the shape of the loop to be nice.
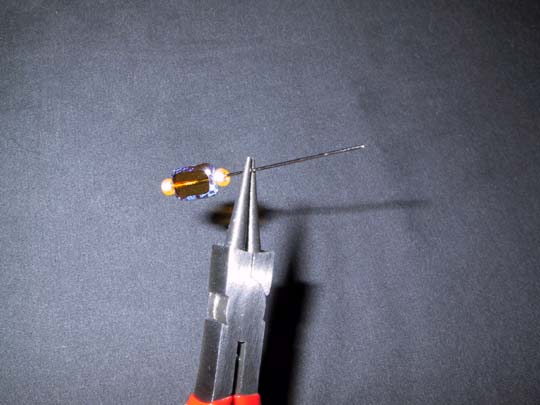
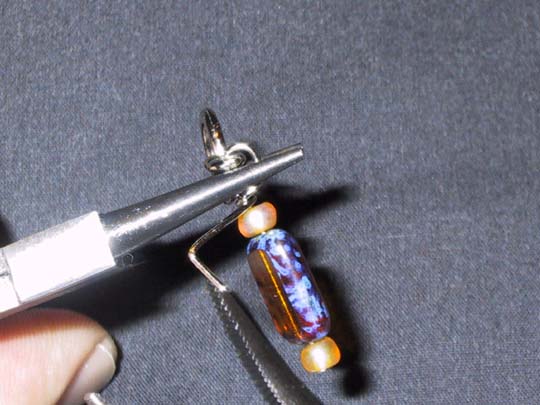
Here, I've got the head pin pinched in the round-nose pliers. The head end is down at the left-hand side, and the part that would be sharp if it was a real pin, is up to the right.
The wire doesn't really show well here, but what I've done is take the needle-nosed pliers in my right hand, and bend the head pin around the round-nosed plier jaw (held in my left hand), making a nice little curve.

Here, you can see the curve.
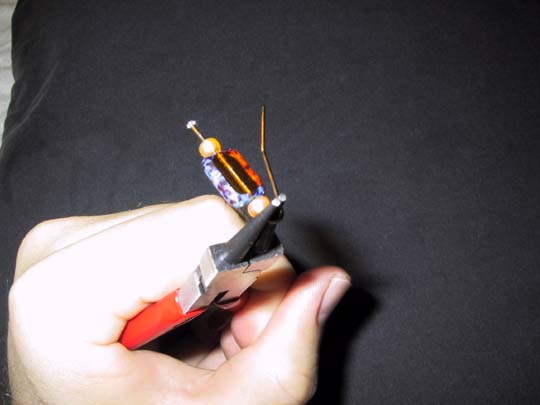
After I've bent the head pin, I thread the toggle ring onto it.

Then, I pick the whole thing up again with the round-nose pliers, holding it right below the ring attachment.
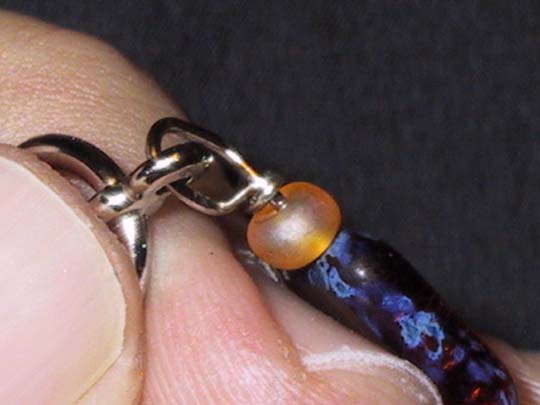
I can't take the picture of what really happens here, because I'm working the camera with one hand. While holding the bend in place with the round nose pliers, I took the needle-nose pliers and wrapped the tail of the head pin around the base of the loop.
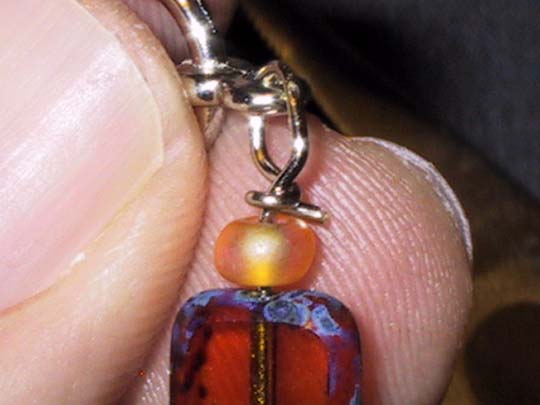
After I got the wrap made, I trimmed it close with the side cutters. I couldn't get it entirely flush with the cutters, and it leaves this tiny piece sticking out - I take the pliers and squeeze it to tuck it under the wrap, so it won't catch on the yarn.
There, it's all tucked in now.
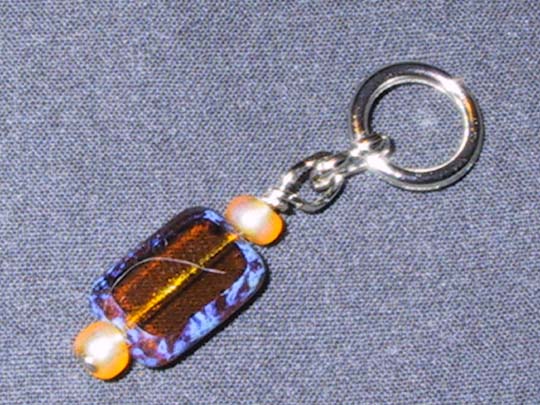
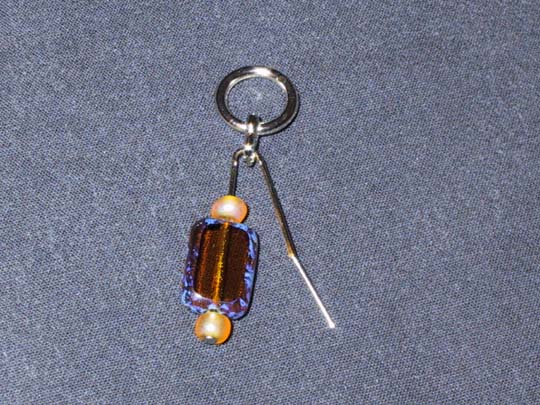
There it is, a finished fancy stitch marker. It takes just seconds, once you get the process sorted out.
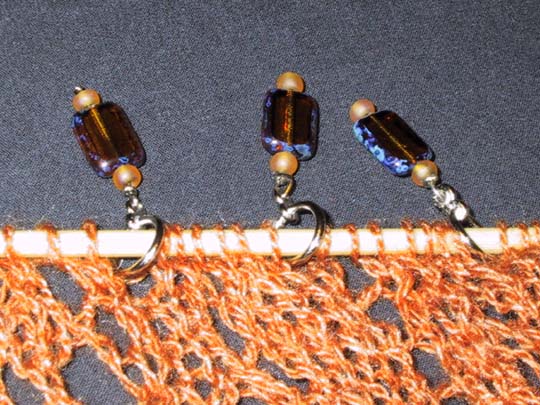
And there they are, marking a piece of my lace knitting.
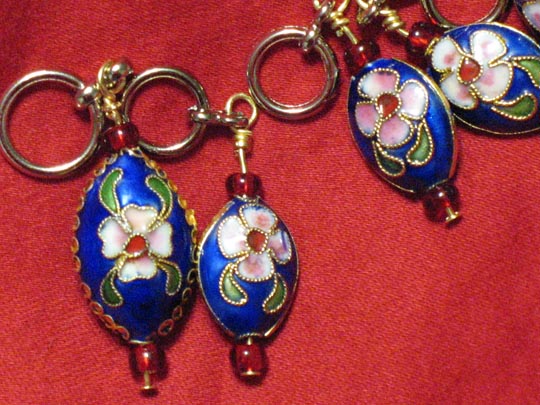
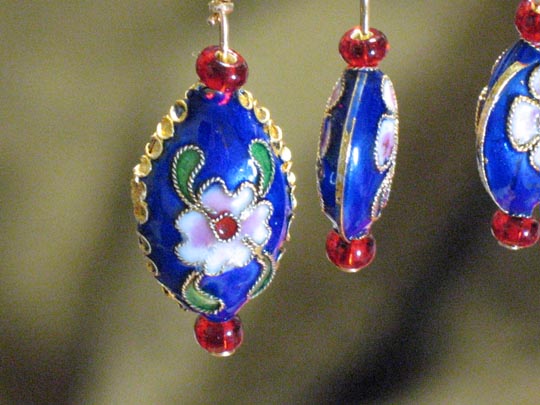
These are another set - made with cloissone beads.
The cloissone is perfect - it's substantial without being too heavy.
The beads are about the size of lima beans.
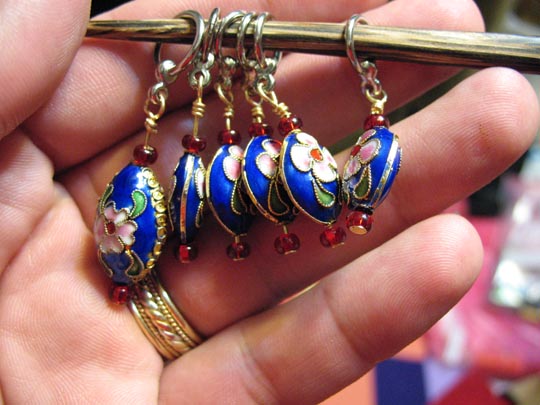
And for the curious, that's not a knitting needle - it's a palmwood laying tool. It was handy.
The larger marker is convenient for marking the end of a round, or a transition from one pattern to another.
The larger size sets it apart from the others, but it still matches nicely. I always try to make at least a few of these "key" markers.
Somebody apparently read this page, and decided that I must be a girl - but I'm not! My name is Michael. This is me: