Little Red Bobble Bag
Howdy!
This post is mostly instructions on how I made the little red bag; it’s like the big red bag, only, little. With surface texture and BOBBLES! They felt up so CUTE! The images are all medium-sized, but there are a lot, so it may take a while to load.
Now,
I’m just going to explain in terms of the wool I used. It’s a bulky 7-by-2 ply worsted, ripped from a thrift store sweater. You can adapt for whatever size/variety you want by making and felting a swatch.
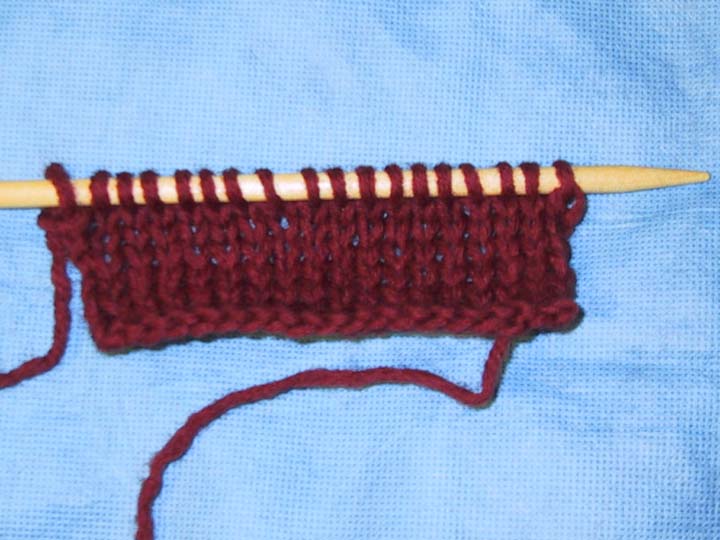
Cast on 18 stitches. Work stockinette for 7 rows, to make the bottom of the bag.

Pick up stitches on the other 3 sides, so that you are working in the round. Work stockinette in the round until the bag is tall enough to allow for proportional shrinkage. In this case, it was about nine inches or so.
This is the bottom with all the stitches picked up around.
This is after about 3 rounds; you can see the bottom starting to shape up.
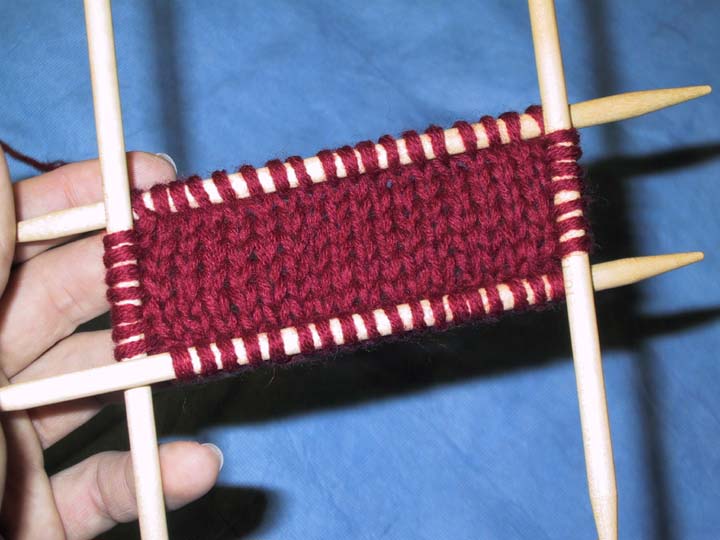
After several more rounds. It’s obviously box-shaped now.
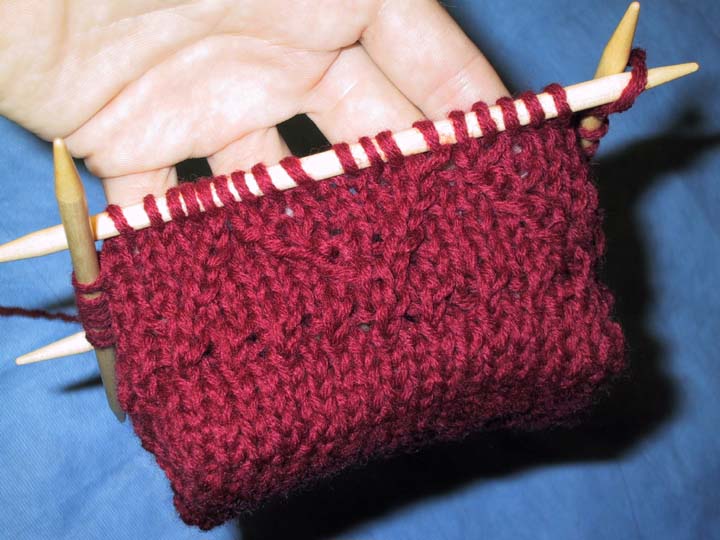
Same stage, different angle. You can se the beginning of the lattice pattern. I followed the lattice instructions from knitting.about.com. There’s also a row of right-twists around below the lattice, to make a ridge to set off the lattice pattern. You can just do stockinette if you want.
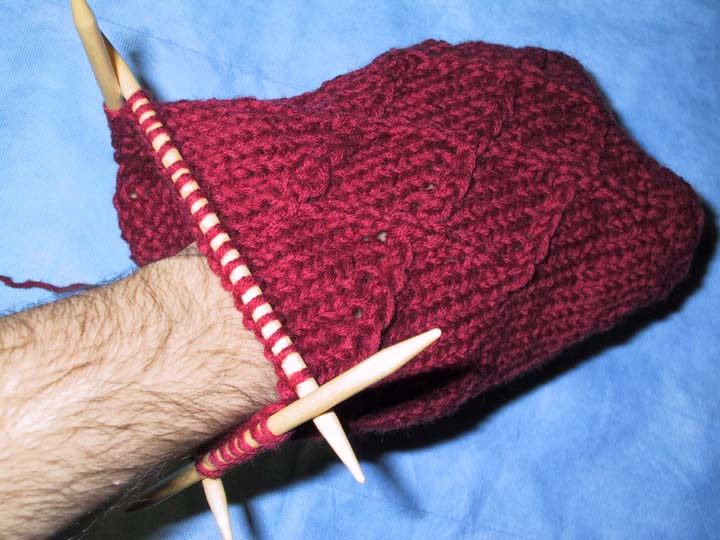
This is with the body of the bag finished. I’ve got my hand in it so that it will stay folded out. At this point, cast off the stitches on the front 3 needles using a 3-stitch I-cord bind off.
Bound off.

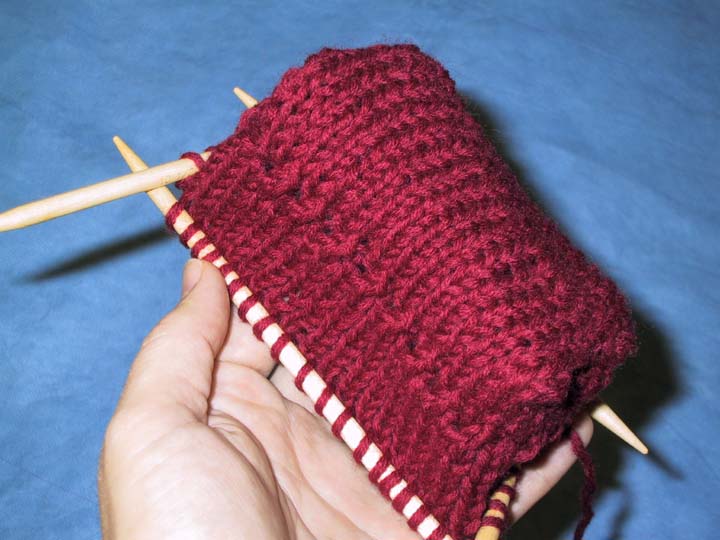
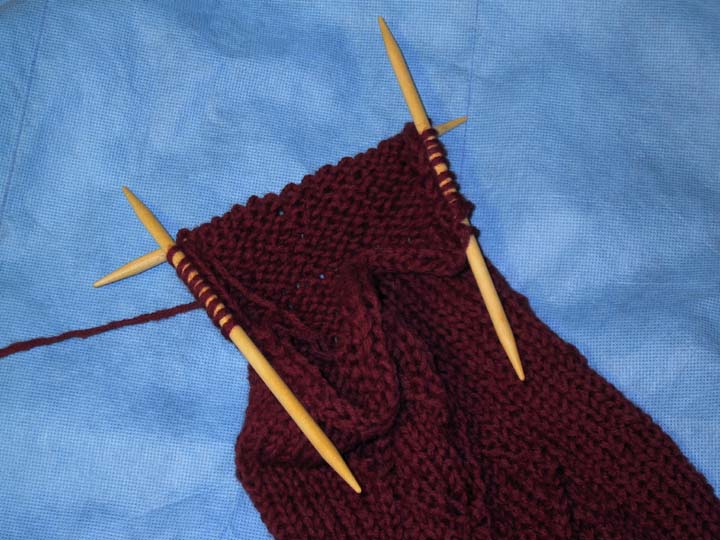
On the fourth needle, the one at the back of the bag, work back and forth in stockinette for 9 rows (as big as the bottom, plus enough overlap that the bag closes with an “overbite”).

Chris demonstrates that it’s all fun and games until somebody gets an eye poked out.
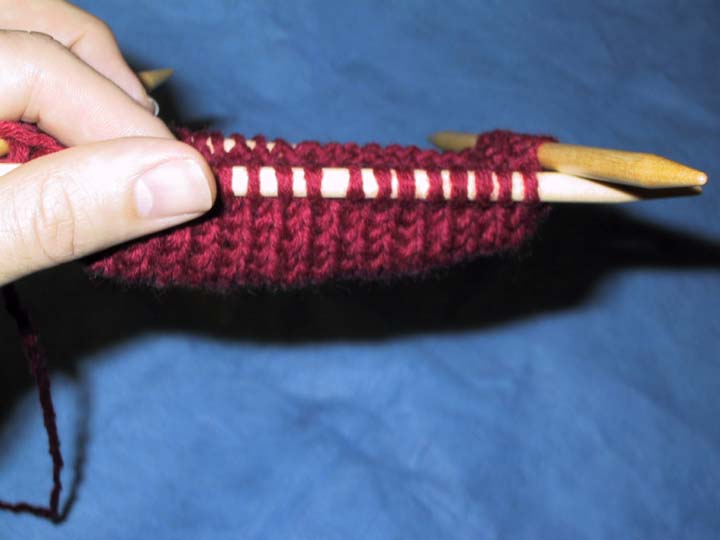
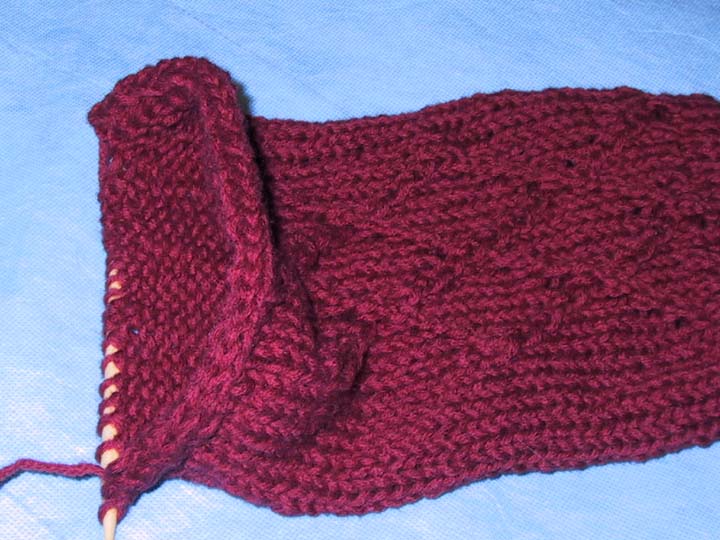
Break the yarn at the end. Pick up stitches up one side of the flap, then knit across the live stitches on the flap needle, then pick up stitches down the other side. Work stockinette back and forth on these three needles until you have 8 or 9 rows. I did the bobbles, evenly spaced, about row 6.

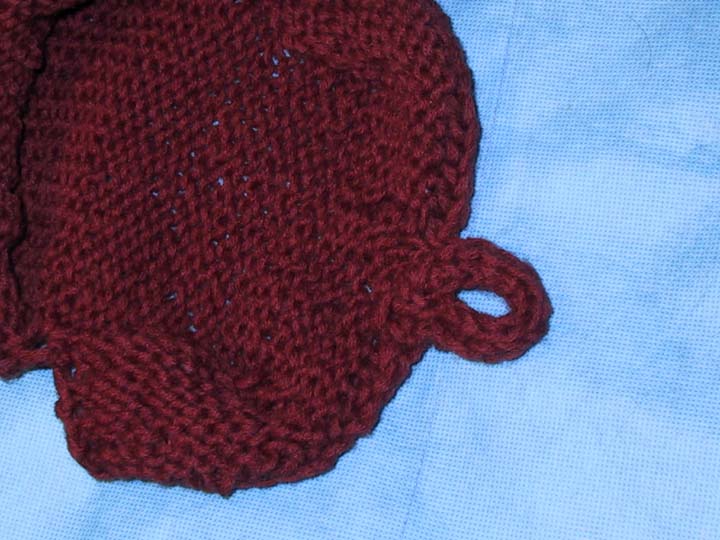
This is the flap and the lip, finished.
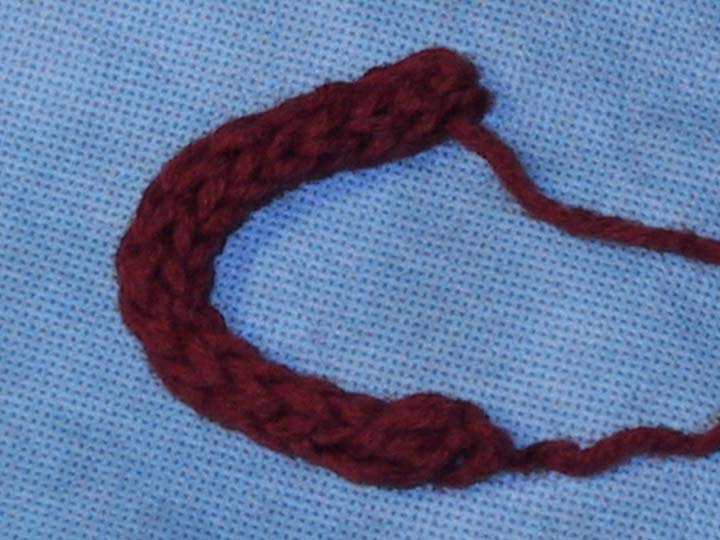
This is the 4-stitch I-cord for the button loop. Leave enough on the tails to fasten the loop to the bag.
The loop, fastened to the bag. The handle is just more I-cord, with a bobble on it halfway, made and attached in similar fashion. Make sure not to get it where it will interfere with the flap closing.
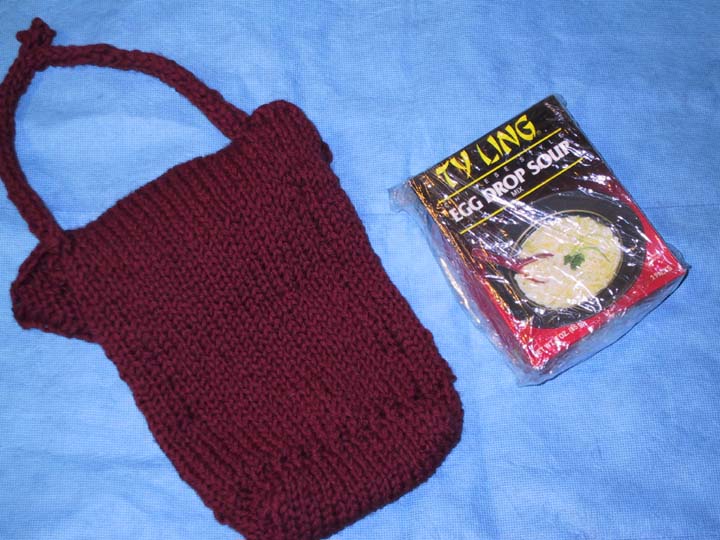
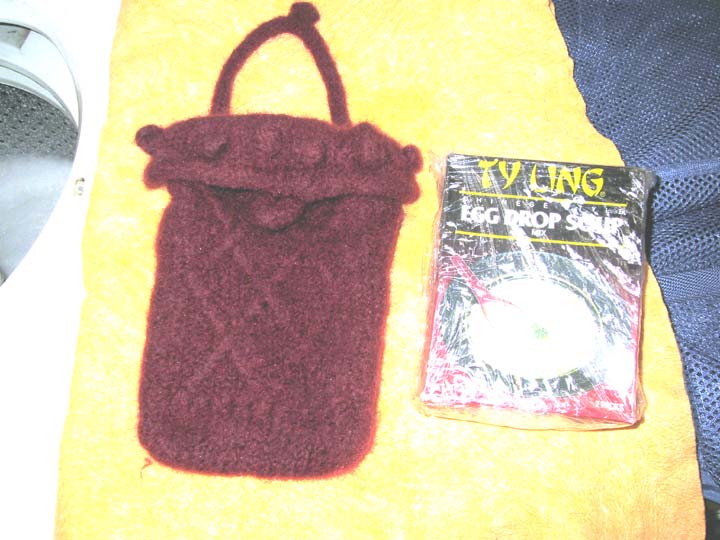
This is the finished bag, sitting next to the soup box I planned to block with. Note how much larger the bag is. The blocking box is wrapped in Saran Wrap.
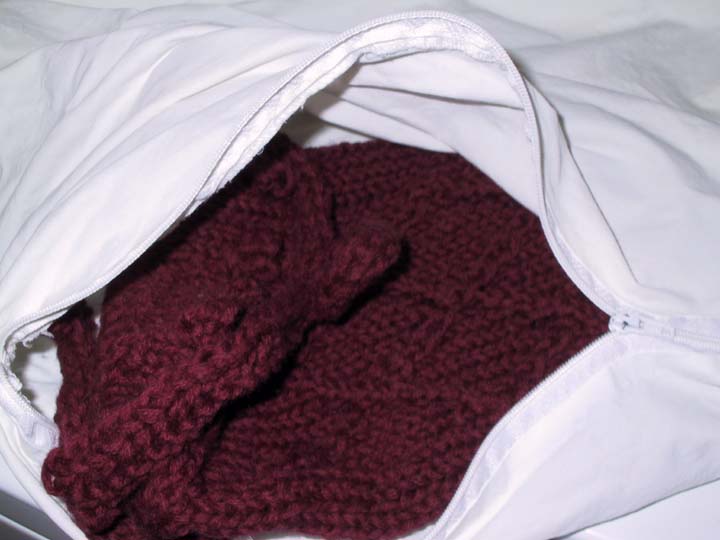
Farewell, little bobble bag! The bag goes into a zippered pillowcase and into the washer, with a tablespoon of dish detergent and HOT water to agitate. It shrinks a lot.
This is after most of the shrinking. About 10 minutes agitation.
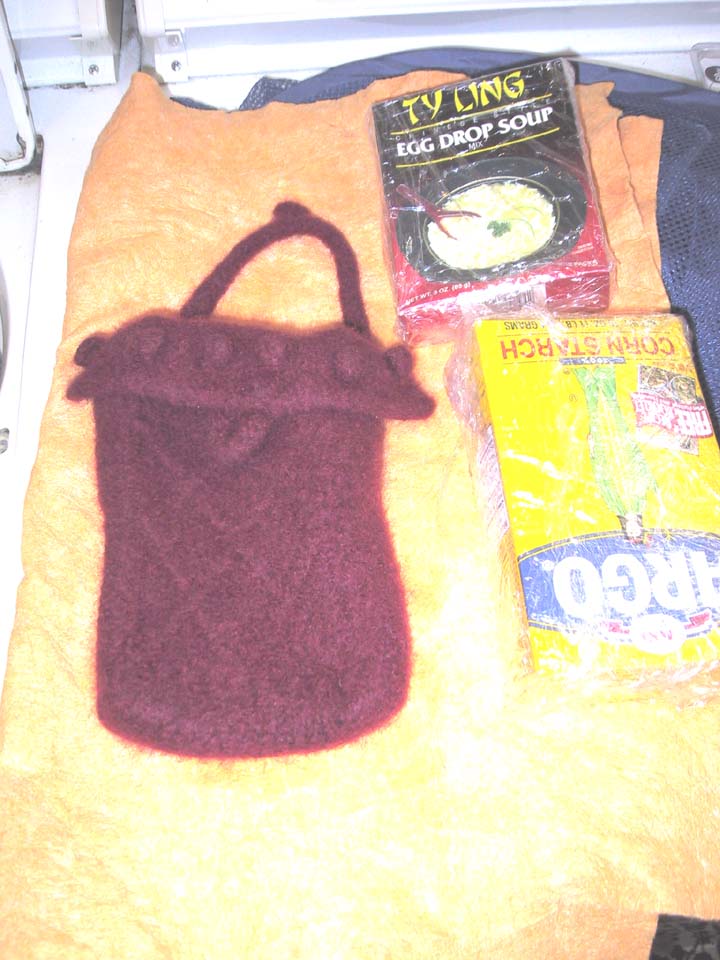
Five more minutes or so, and it was done enough. You can tell when the texture is what you like. If you keep going, it does keep shrinking, up to a point. I realized that the soup box was too short, so I got out a corn starch box and mummified it in cling wrap. Gotta stay mentally flexible about these things – it would have been OK with the soup box, but a much cleaner block with the corn starch.
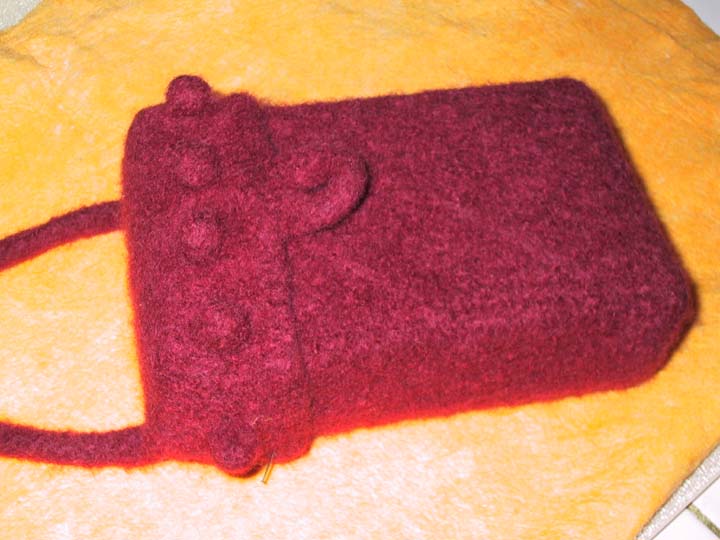
Here’s the bag, blocked and ready to dry. Note the pin at the bottom of the flap; it is pinning the bag to itself, not to the box. This is important if it’s a food box – don’t want it to get wet from the wool! The pins hold the bag in a square shape to make it dry nicely. You can also pin to a board or cardboard.
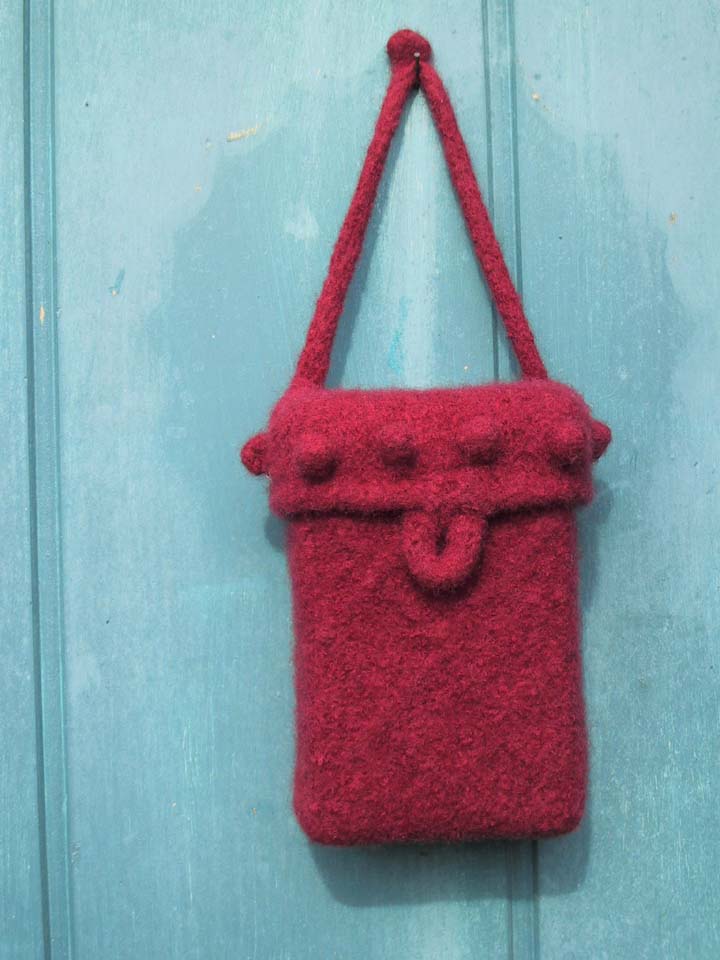
The finished bag, front-on. It’s still on the block. The lattice is subtle, but distinct, which is exactly what I was aiming for, and a little better than I was expecting based on the swatch. I’m very pleased with the bobbles.
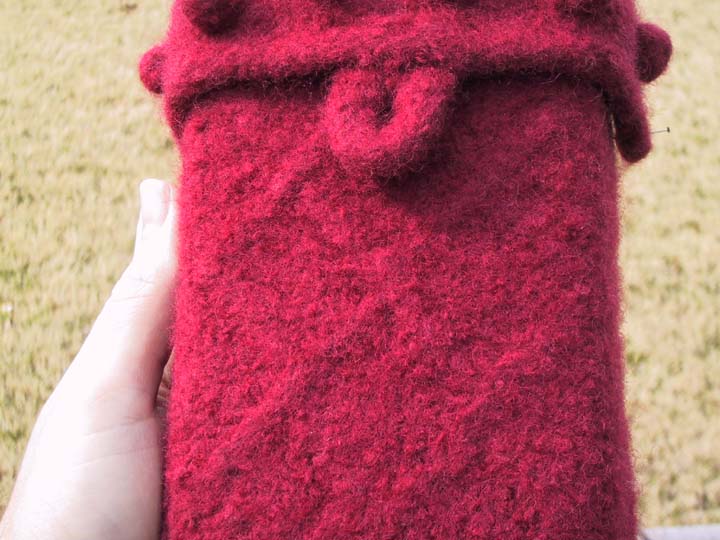
Closeup of the lattice.
I have no idea how to knit, but can I say this?
How cute!
Hee… thanks!
So…much…more…patience…than…I…have…
Its lovely. Thanks for sharing the technique. Some day I may actually try and learn to knit.
Beautiful work. What skill and patience you have!
very cool.. very cool indeed.
Lovely. That gives me ideas….
*trots off to dig thru wool stash*
That looks like a lot of work. But, that’s very neat and lovely.
Overall, less than five hours. Which, in the world of handmade things, is really pretty quick. That’s one of the things I like most about these little bags – they’re done, washed, and gone before I have a chance to get bored with them.
Ok now that is wayyyyyyyyyyyyyyyy too fantastic. If I ever get that good I would die. I would give anythiing to make something so cute!
wow! fantastic job!!!!
four needles! I can barely use one right now.
Memoried incase I EVER get that good!
No pictures
This is exactly what I’ve been looking for to make a gift for a friend to keep her golf tees, markers, etc., in. I’m going to try to follow your instructions, but the pictures that seem to go with each step aren’t there. Any reason?
Thanks,
Janet
Re: No pictures
Janet,
My apologies – this was a LONG time back, and I changed web sites for my photo hosting. I’ll see if I’ve got some of them here…
Re: No pictures
OK, try it now. I moved the pictures in; it reads OK on my computer.
Love your bag, especially the way you did the bottom.
Have you tried doing it as a “magic loop” instead of the 5 dp needles?
Magic loop involves the use of a very long cir. needle. Half the stitches on one side half on the other and slide back and forth. Great for sock and felted bags, Honest.
I find this much easier. If you have a bigger project you don’t have to worry about it coming off.
Great Job.
Honestly, I love the feel of DP’s. I haven’t tried the magic loop, but I just don’t like the feel of the circulars as much.
lattice pattern..
regarding Lattice knit stitch, is this also called Invented Diamond? I could not find it at knitting.com. Enjoyed knitting this little sachel, used DPN’s #2 with Sock yarn, nice. Also, did the front in Basket Weave stitch. Surf across your site, thank you for posting this, fun to knit. You explained it so well.
Re: lattice pattern..
I’m glad you enjoyed the little tutorial. I just found the Lattice Stitch in an online site somewhere, or in a book – I don’t remember. It’s not really a stitch, so much as an interlace made out of twisted stitch. The twisting was what really made the design pop up.